Inking the New Hotness: Part 3

One of the hardest things I find about inking is knowing when to put in fills. You know what I'm talking about - those big, dramatic shadowy areas.

Doing straight up black-and-white is not one of my strong suits - I have always been reliant on grays. On shading. Shading with black always seems SO DRAMATIC HEY GUYS LOOK THIS IS DRAMA HERE but yet other people seem to do it so effortlessly.

My first foray into solo black-and-white was with my comic Lipstick & Malice (also my first time using a brush pen, so there was a lot of I Don't Know What I'm Doing happening). But here I stayed pretty timid.

I would use it mainly for lighting effects.

Or to block out the pieces of action sequences happening.

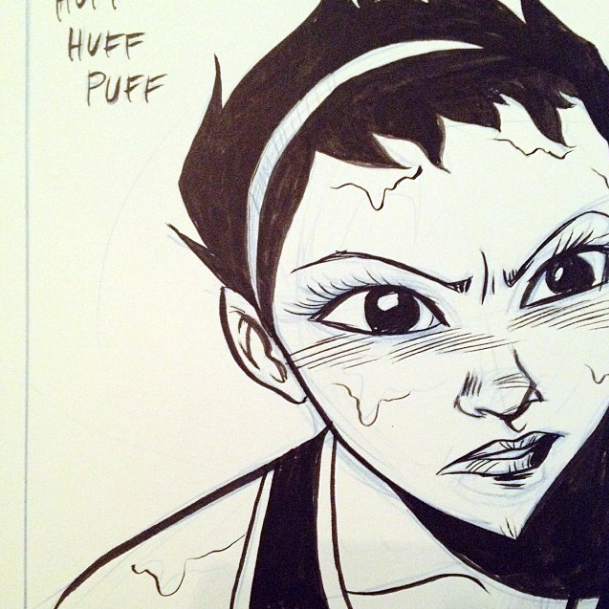
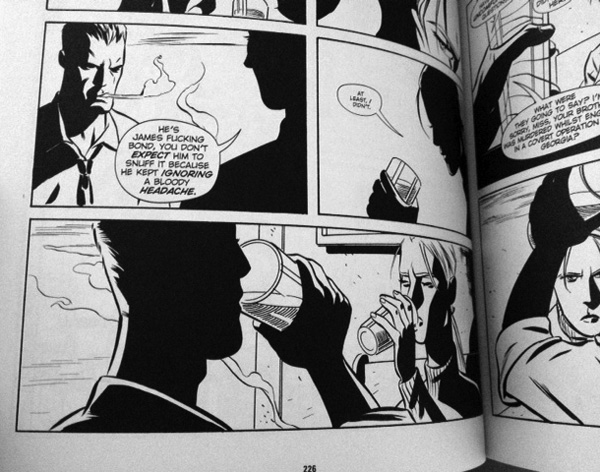
I've been trying to branch out more and dip my toe into incorporating more dramatic blacks, but for me it can get a little screwy. Like here, it might be fine - no big, just some shadows.

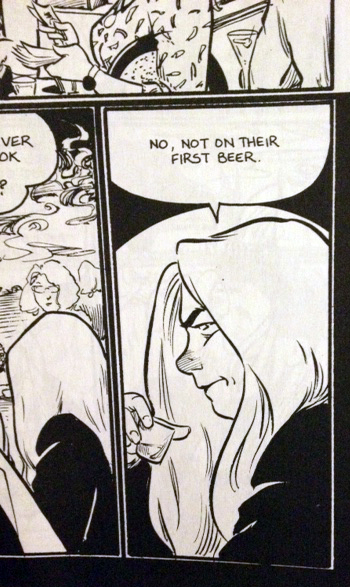
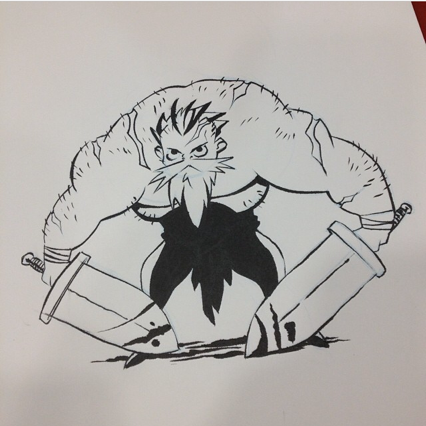
But then this is as bold as I get

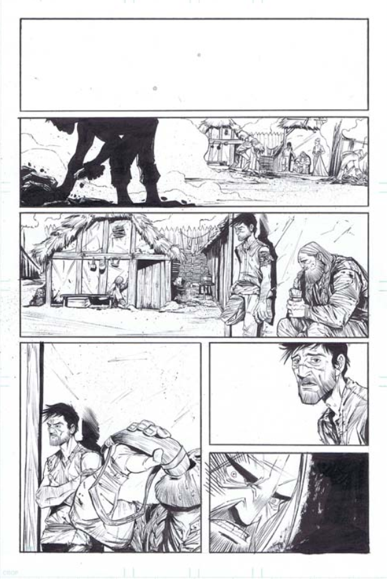
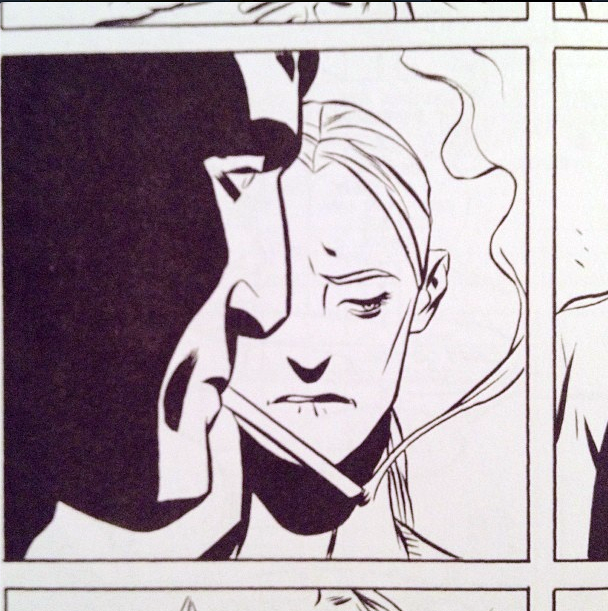
And here ... eehhh I don't know what happened. (you can see by my white-out that this is even my SECOND attempt at this sleeve.)

One thing I've found helpful to get over my fear (besides ogling the work of other creators) is to shade in an area with pencil first - it gives me a mini-preview of what it will look like shaded without much sacrifice. Or I'll just wait to fill in the blacks on the computer, where I have endless undo's available. But then the originals look kind of sad, which is something I've been trying to avoid.

Do you guys have any tips/tricks/mantras for getting over your fear of luscious black fills? Or are you more gung ho, this is easy peasy than I am?

Other posts about inking: Inking the New Hotness Part 2 Inking the New Hotness Part 1

[otw_is sidebar=otw-sidebar-4]

[otw_is sidebar=otw-sidebar-7]

Inking the New Hotness: Part 2

More talk about inking! Yes!

So, as I mentioned last time, for inking I use a size 6 Silver Ultra Mini brush and a pot of Bombay India Ink. Because I discovered I'd randomly bought them one day. One of the new challenges I've encountered with using a real brush is the ink usage. How much to put on your brush? When to blot? When to wash your brushes?


When I started using this brush, I quickly realized I'd need a blotter and a way to test out the line I was brushing before I got to the page. For me, using paper towels and a sheet of scrap paper was the easiest. Not the prettiest setup, but whatchagonnado.


Oh and I keep a roll of tape around my ink bottle for security, since this guy is always waiting for his opening.


Every time I dip my brush in the ink, I need to make sure the excess doesn't clumsily ruin all the nice lines I plan on doing. This works for the most part - I'm still working through when I'm allowed to make certain brushstrokes during the space between dipping my brush again. Swoopy lines tend to happen for me right after I dip and blot, but thin, controlled lines have to wait until after a lot of the ink has left the brush.


Purposefully scratchy lines are something I'm still working on - for me I haven't quite found the right balance of ink and control to get them just right. I love the inbetween, gray texture of them though.


Mostly I tend to probably OVER dip, or put too much ink on my brush. That's pretty much how I solve every inking problem - it's like a reset button for me. Line getting too weak? RESET, GIMME MORE INK. Brush seeming to diverge into uncontrollable side lines? RESET.

This here is one of my biggest pet peeves:


The dreaded brush off-shoot. You know, where suddenly one or two hairs on your brush decide they're NOT all in it together and decide to go their separate ways. Then, just when you think you're inking one solid, has-it-together line - BAM - a tiny twin line appears, just to mock you.

I used to think this meant I needed a new brush, or needed to wash it out more frequently. I'm still not exactly sure what the cause is, but naturally my solution is RESET. MORE INK STAT.

Then I feel more comfortable ignoring the problem, because it's slathered down with more ink, less likely to cause trouble if I keep weighing it down.


This can get a little messy. And because of my tendency to over-ink, I've taken to washing my brush out after each page  just to start fresh once again. Or if my line starts getting really out of hand and acting out on me, I'll wash my brush to see if it helps.


Now, since I am a novice at inking technique, and a super novice at using a brush, I'd love to hear how YOU guys are going about it. Are you washing your brushes all the time? Replacing them all the time? Using different sizes, or one size like me? I'm especially curious to hear whether or not you plop your brushes in soapy water during your inking - I've been wondering if that would solve my split personality brush hair problem.

All these inking samples are taken from my webcomic Gods & Undergrads, and the book I'm currently working on for Oni. :)

Other posts about inking: Inking the New Hotness Part 3 Inking the New Hotness Part 1

[otw_is sidebar=otw-sidebar-4]

[otw_is sidebar=otw-sidebar-7]

Inking the New Hotness: Part 1

I've been doing a LOT of inking lately and I think I'm in love with it. A couple of months ago, I  switched over from only using my beloved Pentel Brush Pen to using a tiny brush and a pot of India Ink.

Inking used to be one part of the Comics Process Trinity that I liked okay (because at least the pencilling was over with), but I was always disappointed with the lack of control I felt. Lines that looked so cool in pencil were suddenly ruined by the shaky, fat line that completely surprised me when I drew it on the page.

The smaller brush seems to have made a huge difference in giving me more control in line weight and distribution of ink. It took some adjustment at first to get used to holding a thinner drawing instrument (welcome back, carpal tunnel!), but now I wouldn't have it any other way. I even tried to get slightly larger brushes of the same style - #8 and #10 - but #6 remains my jam.

I'm a total inking novice, so I wanted to do a couple posts on my newfound love of it and how I'm (hopefully) learning to improve upon my process. New exciting tools that make me excited to do it - CHECK!

Inspiration is also a huge kick in the pants of making we want to improve, too. Here are a few of the folks whose inking stylings I'm super crushing on:

Other posts about inking: Inking the New Hotness Part 3 Inking the New Hotness Part 2

[otw_is sidebar=otw-sidebar-4]

[otw_is sidebar=otw-sidebar-7]

My Comics Process: Inking

It's time for Part 3 of my Comics Making Process - Inking!

When we last left off we had a page all pencilled, waiting for some ink:

So I gather together all my favorite inking tools. I prefer the Pentel Brush Pen, and Microns of various sizes. The Pentel is a fairly recent obsession of mine (and by fairly recent, I mean since 2008, when I started using it), recommended to me by the incomparable Chris Schweizer. Finally, a brush pen that kept its fine point for months, even years after purchasing! It was a bit of a learning curve at first, and occasionally my hand will still spazz out and give everything a thick line, but overall I loooooves it.

Okay, so I've got my inking tools and my page to be inked. Now depending on the contents of the page, I'll use one of the Microns and a ruler first in order to block out all of the architecture - basically anything requiring a straight line. Sometimes I'll go over lines without the use of a ruler, which, for me, is almost always a mistake. (I've got those blasted coffee hands - all a-jittery)

This might be common sense, but I try to ink from the upper left hand corner of each panel down to the lower right hand corner so I limit my ink smudging as much as possible. Apart from the straight-line items on the page, I'll use the Microns for anything tinier or more precise than I trust myself to be able to do with the brush pen.

Now, with inking (depending on how you eventually finalize each page), you have a chance to really add some good shadows and depth. Pay attention to what time of day it is in your scene, where the light sources would be coming from, etc. In my earlier comicking days, I tended to shade everyone equally, as if there were a little sun hanging directly over each and every character. I didn't really get that I had to create a whole environment for my characters to be running around in, I couldn't just light them all individually. Anyhoo.

Now for this page, you can see I didn't play too much with shadows and contrasty lighting. In the past, I've colored my Gods & Undergrads pages. Recently I haven't had enough time to fully color each page, so I've been doing them in straight black-and-white. However, since I one day hope to color them, I don't add as much depth with my inking as I would if this were closer to the finished product. Also, you'll notice I've left the borders of the panels as-is - no inking by hand. I'll leave that for Part 4 - Computerizing!

My Comics Process Part 1: Thumbnailing

My Comic Process Part 2: Pencilling

My Comics Process Part 3: Inking

My Comics Process Part 4: Computerizing